Human Written
A step-by-step guide to reinstalling Windows 11 from a USB flash drive, for slow PCs, stubborn malware, or a fresh hard drive.

Maybe your PC has slowed to a crawl and a normal reset won’t touch it. Maybe it’s infected so badly that not even a blessing is getting that malware out. Or maybe you just swapped in a new hard drive and want a clean, no-hassle way to get Windows running again. Whatever brought you here, this guide walks you through it step by step.
Before you start: this process wipes the drive completely. Photos, documents, music, everything. If there’s anything on that PC you care about, back it up first. If the machine won’t boot at all and backing up isn’t possible, that’s a different situation, reach out and we can talk through recovery options before you reinstall.
What you’ll need
A USB flash drive, 16GB or larger
A working internet connection
A second Windows computer, only if the PC you’re fixing can’t boot at all
Step 1: Download the Media Creation Tool
Head to the official Microsoft download page and grab the Windows 11 installation media tool.
https://www.microsoft.com/en-us/software-download/windows11
If your PC is stuck on a blue screen or won’t boot, you won’t be able to do this step on that machine. Use a different Windows computer instead, you’ll create the install media there and move the finished USB drive over.
Step 2: Create the install media
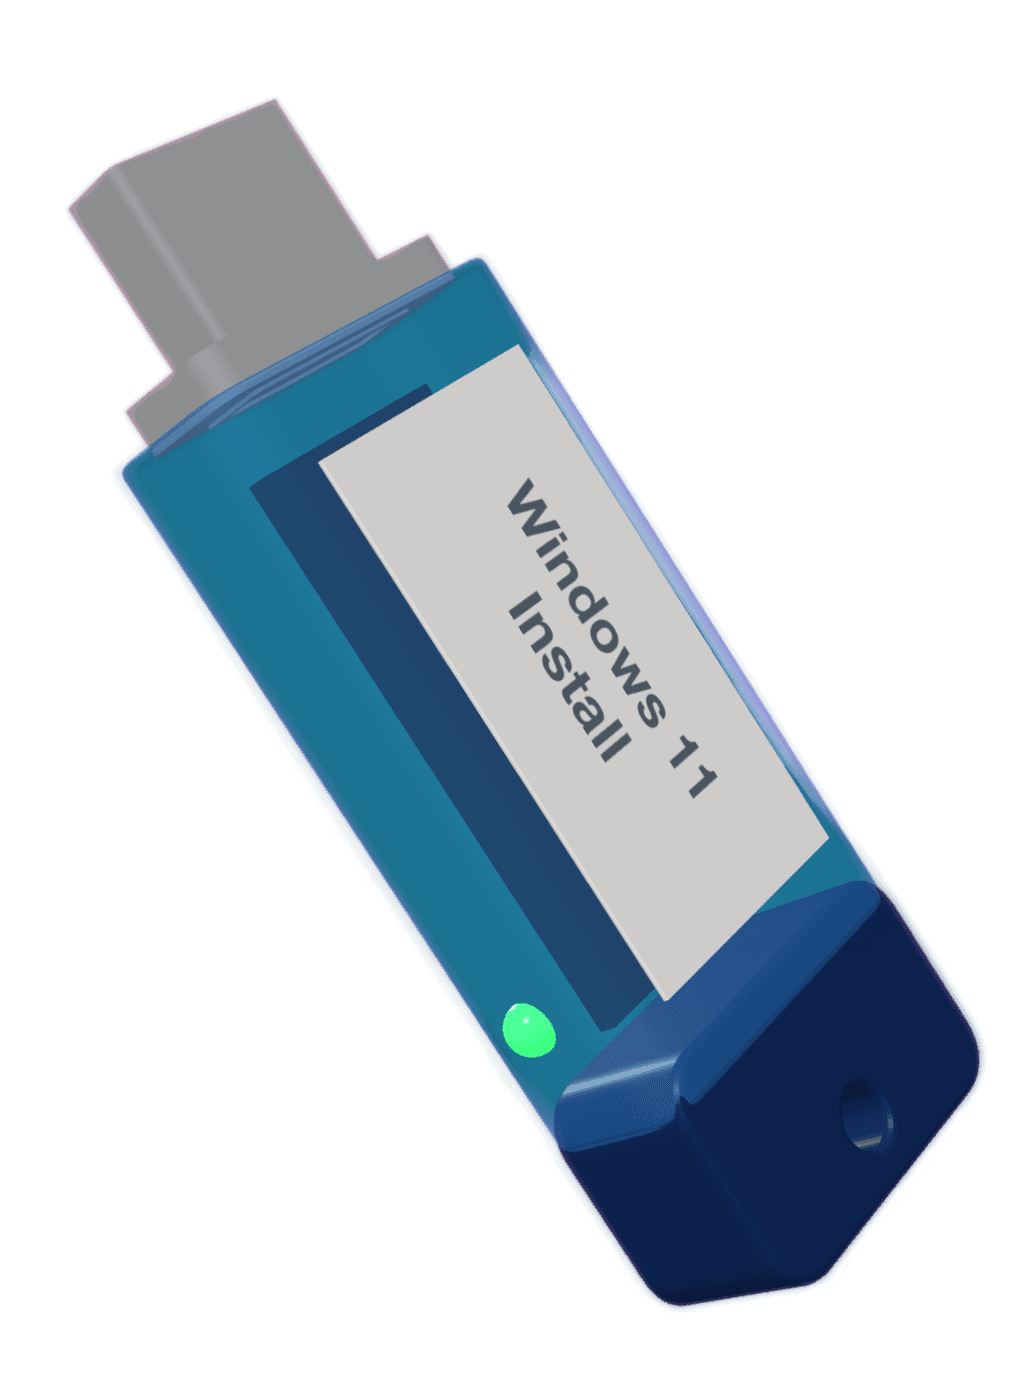
Plug in your USB drive and run the tool. Follow the prompts, it’ll download Windows 11 and build a bootable installer directly onto the flash drive. This takes a while depending on your internet speed, so let it run.
Step 3: Plug the drive into the PC you’re reinstalling
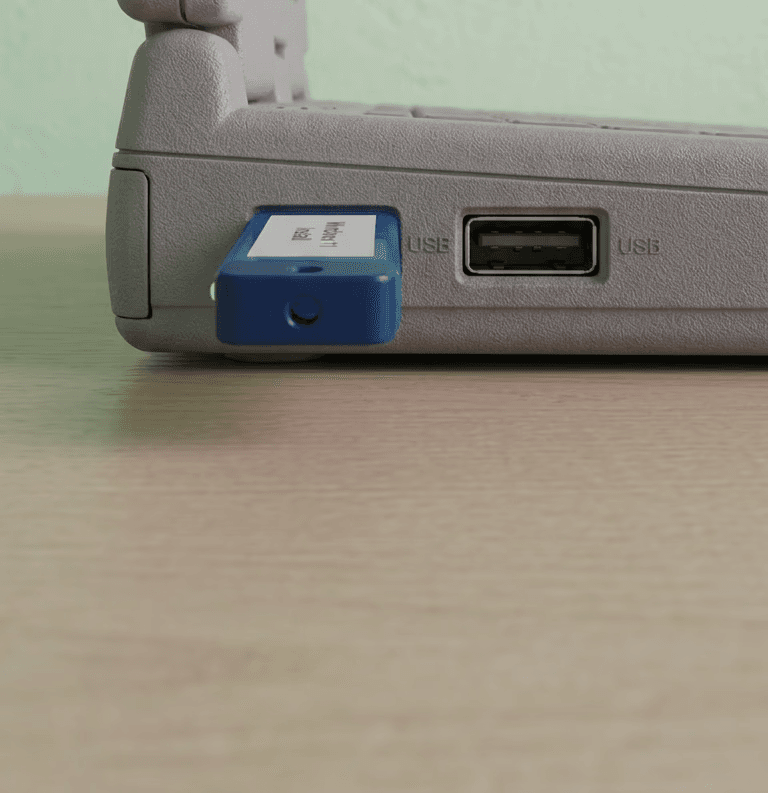
For laptops, any USB port works. For desktops, plug the drive directly into a port on the motherboard, usually on the back of the case, not into a front panel port or a hub.
Step 4: Boot into the flash drive
This is the part people get stuck on. You need to interrupt the normal startup and tell the PC to boot from USB instead of the internal drive. The key to press depends on who made your PC or motherboard, common ones are Esc, F2, F9, or F12.

Not sure which one is yours? Search your PC’s brand and model plus “boot menu key,” or ask an AI assistant something like:
“I have a [brand] PC, here’s my motherboard, what’s the boot menu key and how do I use it?”
Step 5: Select the USB drive as your boot source
Once the boot menu appears, look for your flash drive in the list, it’s often near the bottom. If the first option you try doesn’t work, back out and try the next one until the Windows installer loads.
Step 6: Start the install

On the installer screen, select Install Windows 11, then choose Custom Install on the next screen.
Step 7: Delete the existing partitions
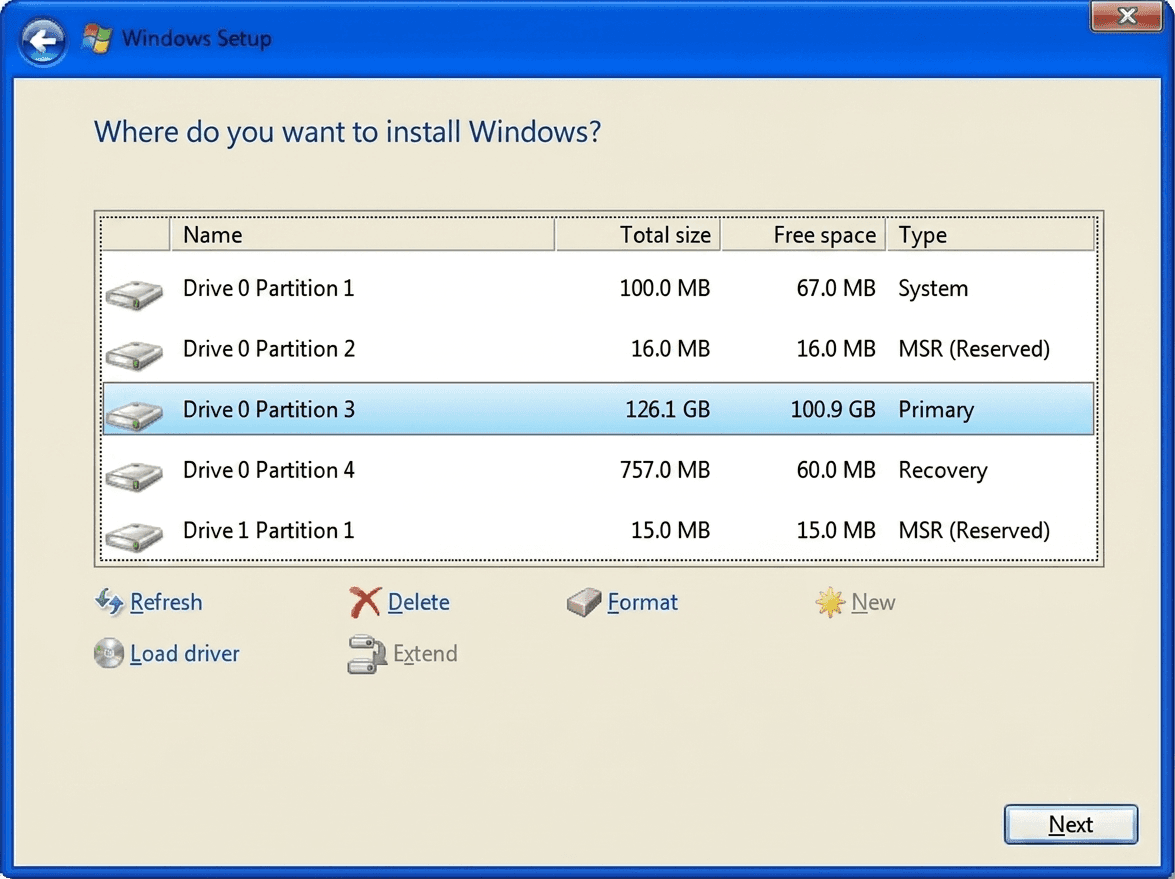
You’ll see a list of partitions, usually labeled Disk 0. Delete all of them to fully wipe the old install. This is the point of no return, if you haven’t backed up your files yet, stop and do that first. Everything on that drive gets erased.
Step 8: Let Windows install
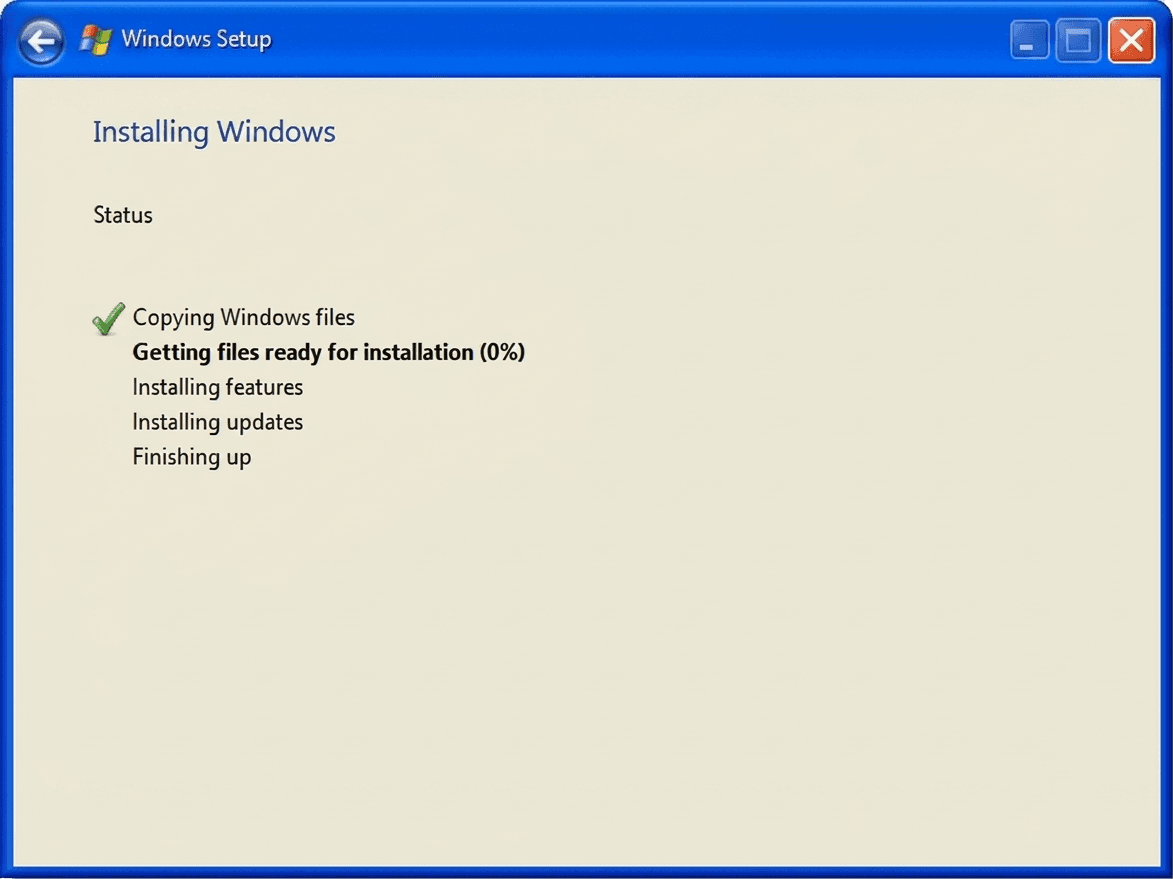
With the old partitions cleared, hit Next. Windows will take over from here, installing itself and restarting the machine on its own. When it’s done, you’ll land on the Windows Out of Box Experience, the setup screens that walk you through account creation, encryption, and initial settings.

We’ve got a full breakdown of what actually happens during that setup screen and what Microsoft doesn’t tell you, check it out here before you click through it.
Windows OOBE Magic
Related Articles