Article
Oct 20, 2025
How to Reinstall Windows: A Step-by-Step Guide for Tech-Anxious Users
Windows acting up or stuck on a blue screen? Here’s how to reinstall it step-by-step — clear, calm, and easy enough for anyone to follow.

Let’s be honest, nothing ruins your day faster than sitting down to get something done and seeing that blue screen with a sad face. The one that might as well say “Good luck, you’re on your own.”
You’re not on your own though.
If Windows has given up on you or has been crawling along slower than your morning coffee, reinstalling it from scratch can bring your computer back to life. It sounds complicated, but it’s really just about having the right tool (a USB install drive) and following a few steps. I’ll walk you through everything.
By the end of this, you’ll either have a clean, working system or know exactly when to stop and let ITComp step in to help.
⚠️ Before You Keep Reading
Quick heads up. This guide is for people who already use cloud services like OneDrive, Google Drive, or Dropbox to store their documents and pictures online.
If you’re not sure whether your files are backed up, take a second to check:
OneDrive users: Go to onedrive.live.com and sign in with your Microsoft account. If you see your Desktop, Documents, or Pictures folders there, you’re good.
Google Drive users: Visit drive.google.com and sign in. Check your “My Drive” folder for your important files.
Dropbox users: Head to dropbox.com and make sure your recent files are visible there.
If you don’t see your files, or if you still have stuff saved only on your computer, stop here. Copy your important files to a flash drive or an external hard drive before doing anything else.
And if Windows is so broken it won’t even start in Safe Mode, don’t panic. I’ll make another guide soon that shows how to recover your files safely before reinstalling Windows.
🧰 What You’ll Need Before We Start

Before we jump in, let’s make sure you’ve got everything ready.
Here’s the short list:
A USB flash drive (8 GB or larger — the tool will wipe it, so don’t use one with important files).
A working computer with an internet connection.
About 30 minutes of patience and maybe a snack.
💡 Note:
If your computer still works fine right now, this is a great time to create your recovery drive just in case things go south later. It’s like having a spare key — you hope you’ll never need it, but you’ll be really glad you have it when you do.
You’ll also need to download Microsoft’s official Windows Installation Media Tool, which we’ll use to create the USB. It’s totally free and comes straight from Microsoft’s website — no sketchy downloads involved.
You can grab it here:
👉 Download Windows Installation Media Tool (for Windows 10)
👉 Download Windows 11 Installation Media Tool (for Windows 11)
Creating Your Windows Install USB
Alright, time to build your magic stick — the USB drive that’ll bring your computer back from the dead.
Plug in your USB flash drive.
Make sure it’s at least 8 GB and empty (or you don’t care what’s on it). The process will erase everything, no exceptions.
Open Microsoft’s installation tool.
Use the correct one for your version of Windows:
Run the tool.
When it opens, click “Accept” to get past the license screen — you know, the one no one ever reads.
Choose “Create installation media (USB flash drive, DVD, or ISO file) for another PC.”
This might sound like you’re setting up someone else’s computer, but don’t worry — this is the right option.
Pick your language, edition, and architecture.
If you’re not sure, just leave the default settings checked — Windows usually gets it right.
Select “USB flash drive.”
Then pick your drive from the list (double-check before you continue — this will format it).
Click “Next,” and let it do its thing.
The tool will download Windows and write it to your USB. Depending on your internet speed, this can take 15–30 minutes. Maybe grab a drink.
When it says “Your USB flash drive is ready,” you’re done!
Safely eject the drive — this is now your Windows installer. Treat it like gold.
💡 Pro Tip:
Label your USB drive as “Windows Installer” so you don’t accidentally use it for photos or documents later. (Trust me, it happens.)
Reinstalling Windows (Without Losing Your Mind)
So, you’ve got your fancy new USB drive and you’re staring at your computer like, “Okay… now what?”
Don’t worry — you’re just a few clicks away from bringing Windows back to life.

Plug in your USB drive.
Keep it in and restart your computer.
Enter your boot menu.
Right when the computer starts, you’ll need to tap a special key — usually F12, F9, or Esc — depending on your computer’s brand.
(You can ask NeuroComp “boot menu key” plus your computer maker/model if you’re not sure.)
Select your USB drive as the boot device.
It might say something like “USB Storage Device” or show your flash drive’s brand name.
When the Windows setup screen appears, click “Next” → “Install Now.”
You’ll see a few prompts about licenses, partitions, and other things that look scarier than they are.
Choose “Custom: Install Windows only (advanced).”
This option lets you do a clean install — basically wiping Windows and starting fresh.
Select your main drive (the biggest one).
This part can look intimidating, but don’t worry — you’re not defusing a bomb.
When the installer asks “Where do you want to install Windows?” you’ll see a list of drives and partitions.
Usually, you’ll see several entries that all say something like Drive 0 Partition 1, Partition 2, etc.
Look for Drive 0 — that’s your main hard drive or SSD.
Select each partition under Drive 0 (Partition 1, Partition 2, and so on) and click Delete for each one.
Keep going until all of them disappear and you’re left with one single line that says Unallocated Space.
That’s your clean slate. Click Next, and Windows will create the partitions it needs automatically.
💡 Important:
Only delete partitions under Drive 0 (your main drive). If you see other drives — like Drive 1 or Drive 2 — those are usually external or secondary disks. Leave them alone unless you’re absolutely sure.
Click “Next” and let Windows do its thing.
The computer will restart several times. Don’t panic — that’s normal.
Welcome back to life!
Once you see the setup screen asking for language and region, you’ve officially resurrected your PC.
💡 Pro Tip:
Once you’re back up, install your drivers (your computer might do it automatically) and run Windows Update before reinstalling your apps.
After the Install — Setting Things Back Up
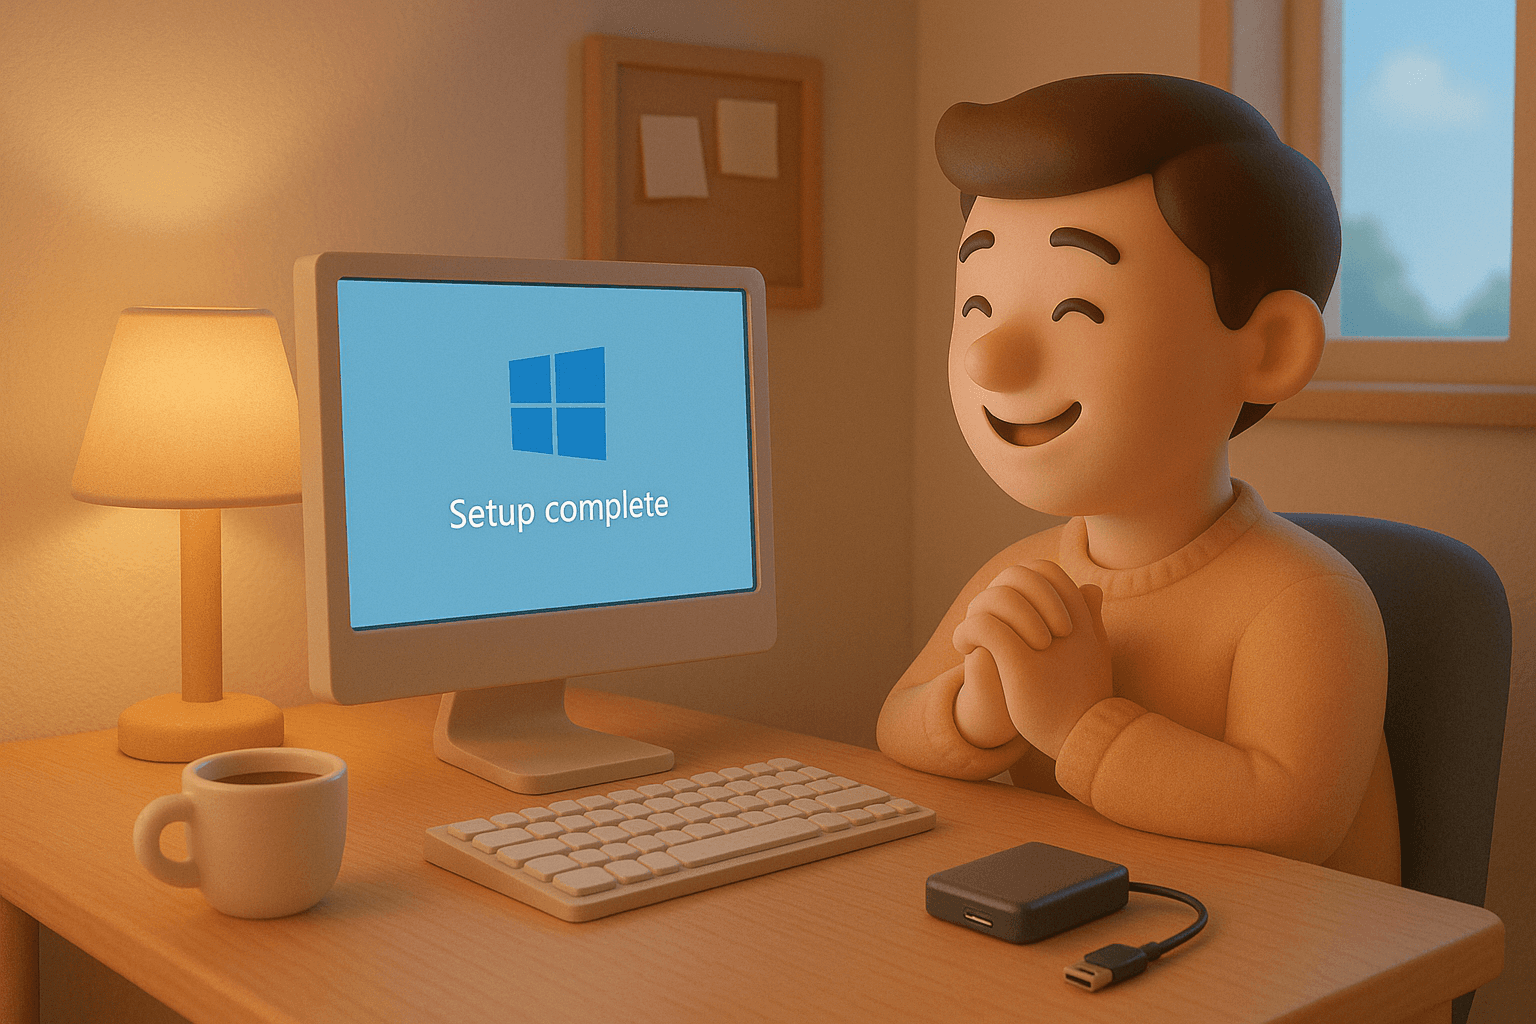
Nice work. If you made it this far, you’ve just reinstalled Windows like a pro (or at least like someone who didn’t panic when the screen went black — that’s a win in my book).
When Windows starts for the first time, it’ll walk you through setup: choosing your region, connecting to Wi-Fi, and signing in with your Microsoft account. Just follow the prompts — it’s all pretty straightforward.
Once you’re on the desktop again:
Let Windows Update run.
Go to Settings → Windows Update and hit Check for updates. It’ll handle most drivers and patches automatically.
Install anything that’s missing.
If something doesn’t work right away (like audio or Wi-Fi), open the Device Manager or visit your computer manufacturer’s support page. They’ll usually have the right driver downloads ready to go.
Reinstall your apps.
You’ll need to grab your browsers, tools, and software again — but now you’re starting clean, without all the junk that built up before.
Restore your files.
If you use OneDrive, Google Drive, or Dropbox, your stuff should start syncing automatically once you sign in. Otherwise, plug in your external drive and copy your files back over.
And that’s it. Your computer’s fresh, clean, and ready to actually listen to you again.
Final Thoughts
If everything went smoothly, awesome — you just saved yourself a trip to the repair shop.
If it didn’t, or if something still feels off (maybe a missing driver, a stubborn update, or an install that won’t finish), no worries. That’s what we’re here for.
You can reach out to ITComp anytime for remote or onsite help — whether it’s reinstalling Windows, backing up your data, or just figuring out why your computer decided to throw a tantrum in the first place.
Because sometimes, even when you can fix it yourself, it’s nice to have a tech partner who’s got your back.
Need a hand or not sure which option to pick? You can always book a session with ITComp and we’ll help you sort it out.